PIC from NULL: Flashing
As part of my reintroduction to electrical engineering, I thought it would be fun to PICk up a new type of microcontroller: PICs!
These series of posts will document the challenges I faced when starting out and hopefully helps others in similar situations. This specific post covers flashing an 8-pin PIC16 using a PICkit3.
Preface
Before we get into the details of my struggle, there is some context you should know about. I am using an 8-pin PIC16 in a dual in-line package (the kind of package that fits in a bread board). I’m also using a PICkit3 which is no longer available from Microchip, but I got one on Amazon for a good price. It came with a ZIF socket, which I had zero knowledge about as well.
Flashing
The first hurdle is actually flashing the board. Should be easy, right? I have a PICkit3, a ZIF socket, and MPLabX (the official IDE for PIC programming). Just hook it all up, and we should be good!
Target device was not found (could not detect target voltage VDD). You must connect to a target device to use PICkit 3.
Huh, maybe I didn’t put it in the right position in the ZIF socket?
Alright, I’m going to save you from the complete trial and error dance, but this process went on to trying to figure out the ZIF configurations, abandoning that to manually build out the connections, still hitting the same error, and finally searching the Internet for a solution.
My specific problem was caused by a software configuration. I was under the impression that the PICkit would power the device by default. That is not the case, however, and you must enable the setting in MPLabX.

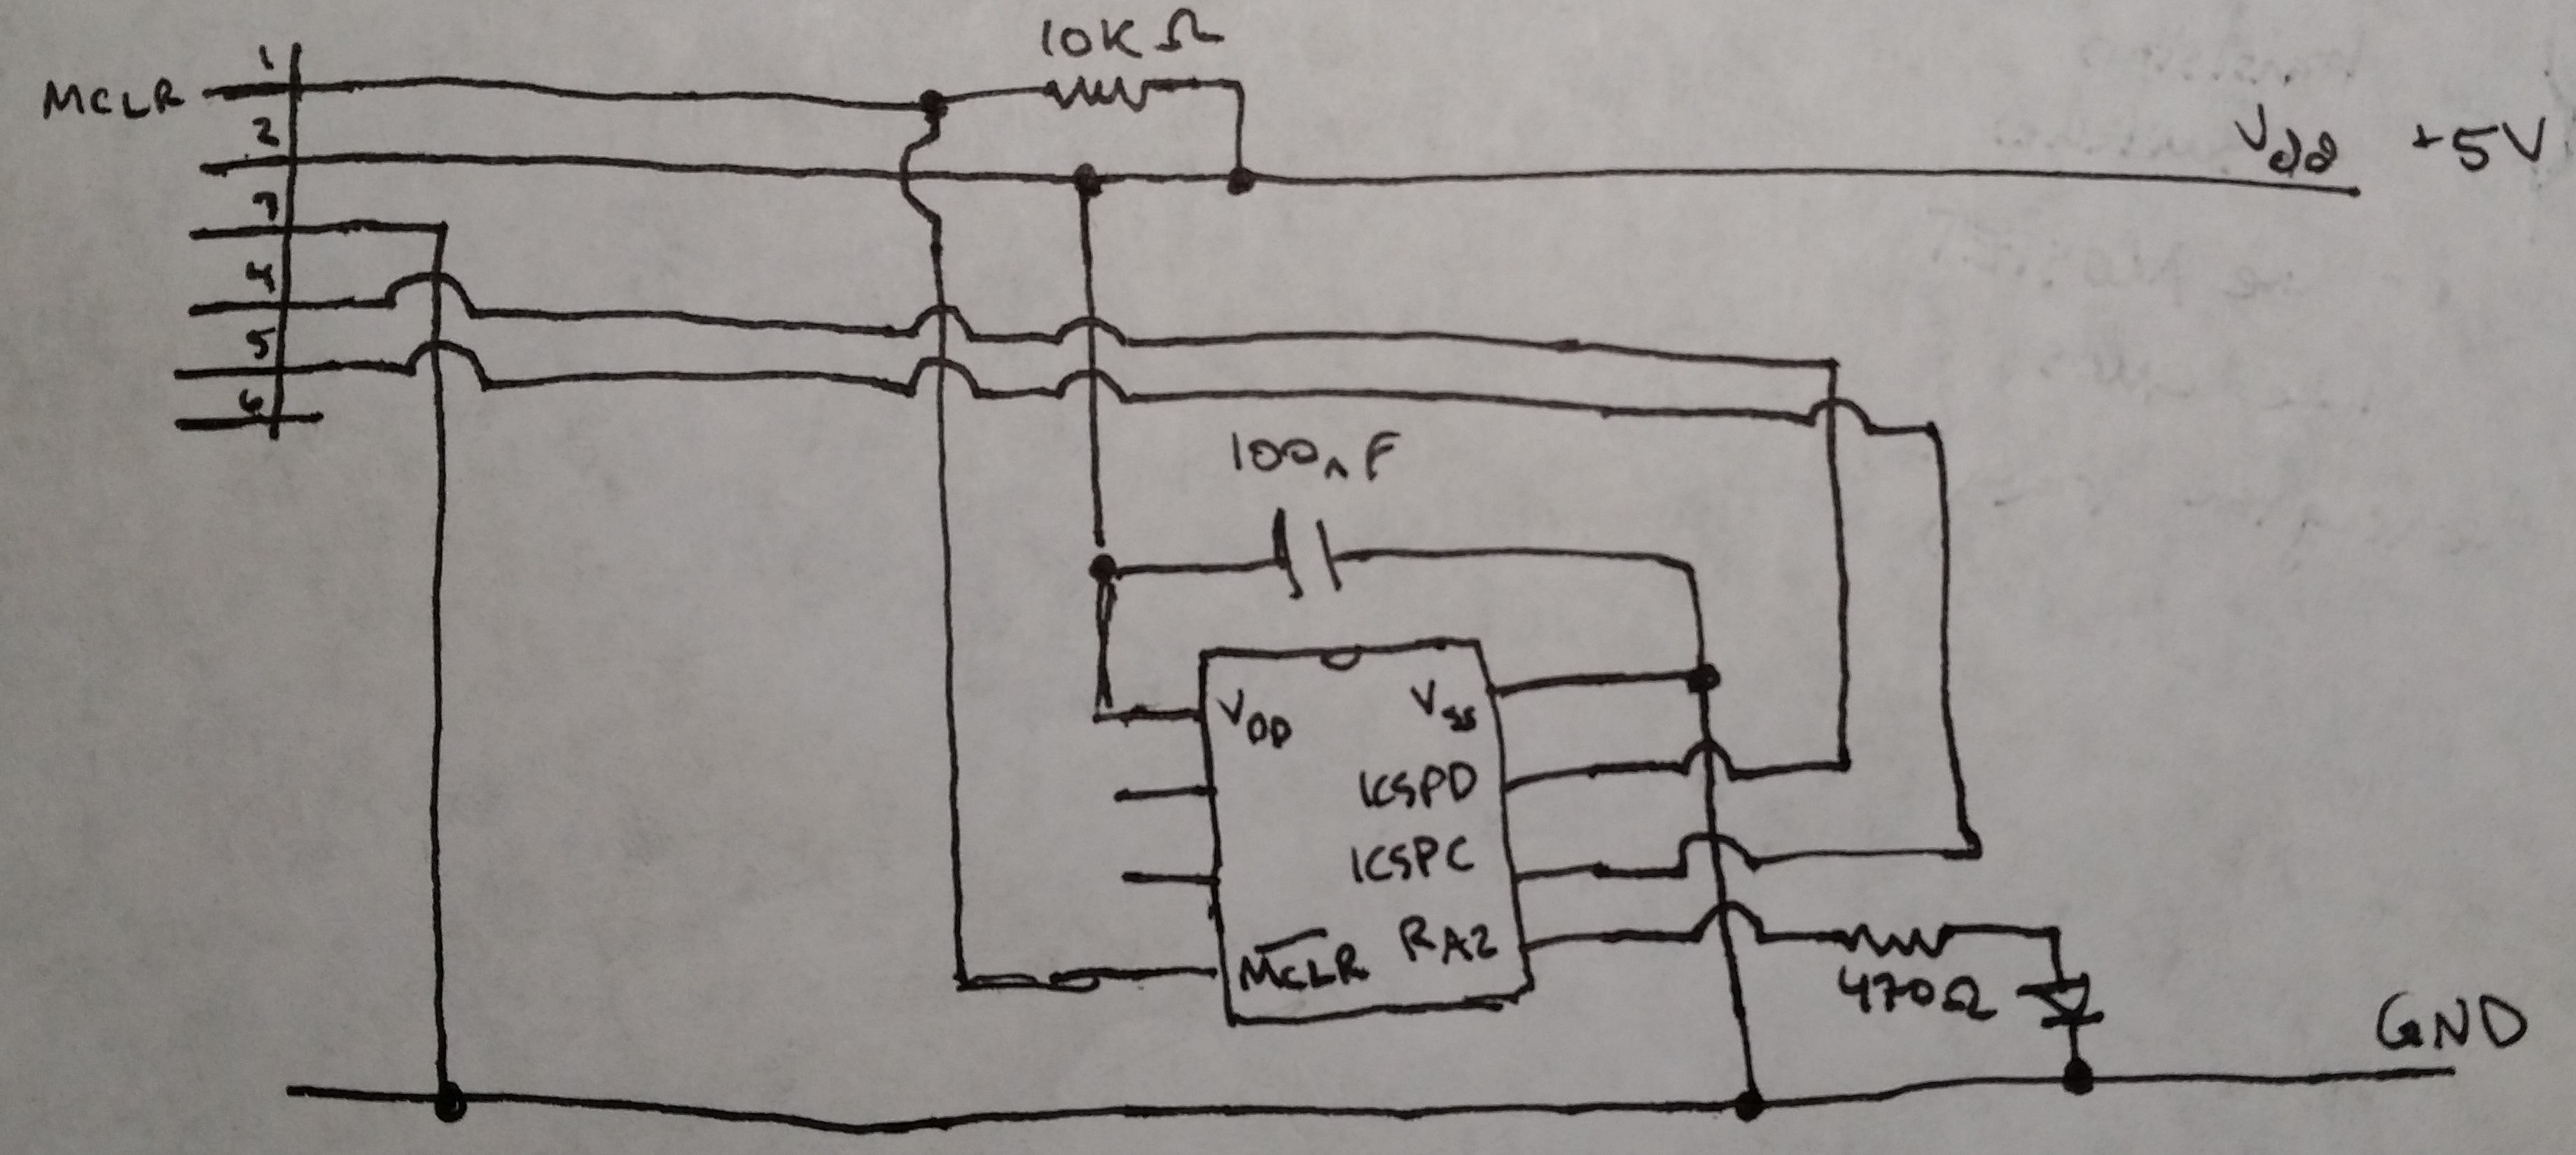
Once I had that setting enabled, I got it flashing on the bread board using this schematic.

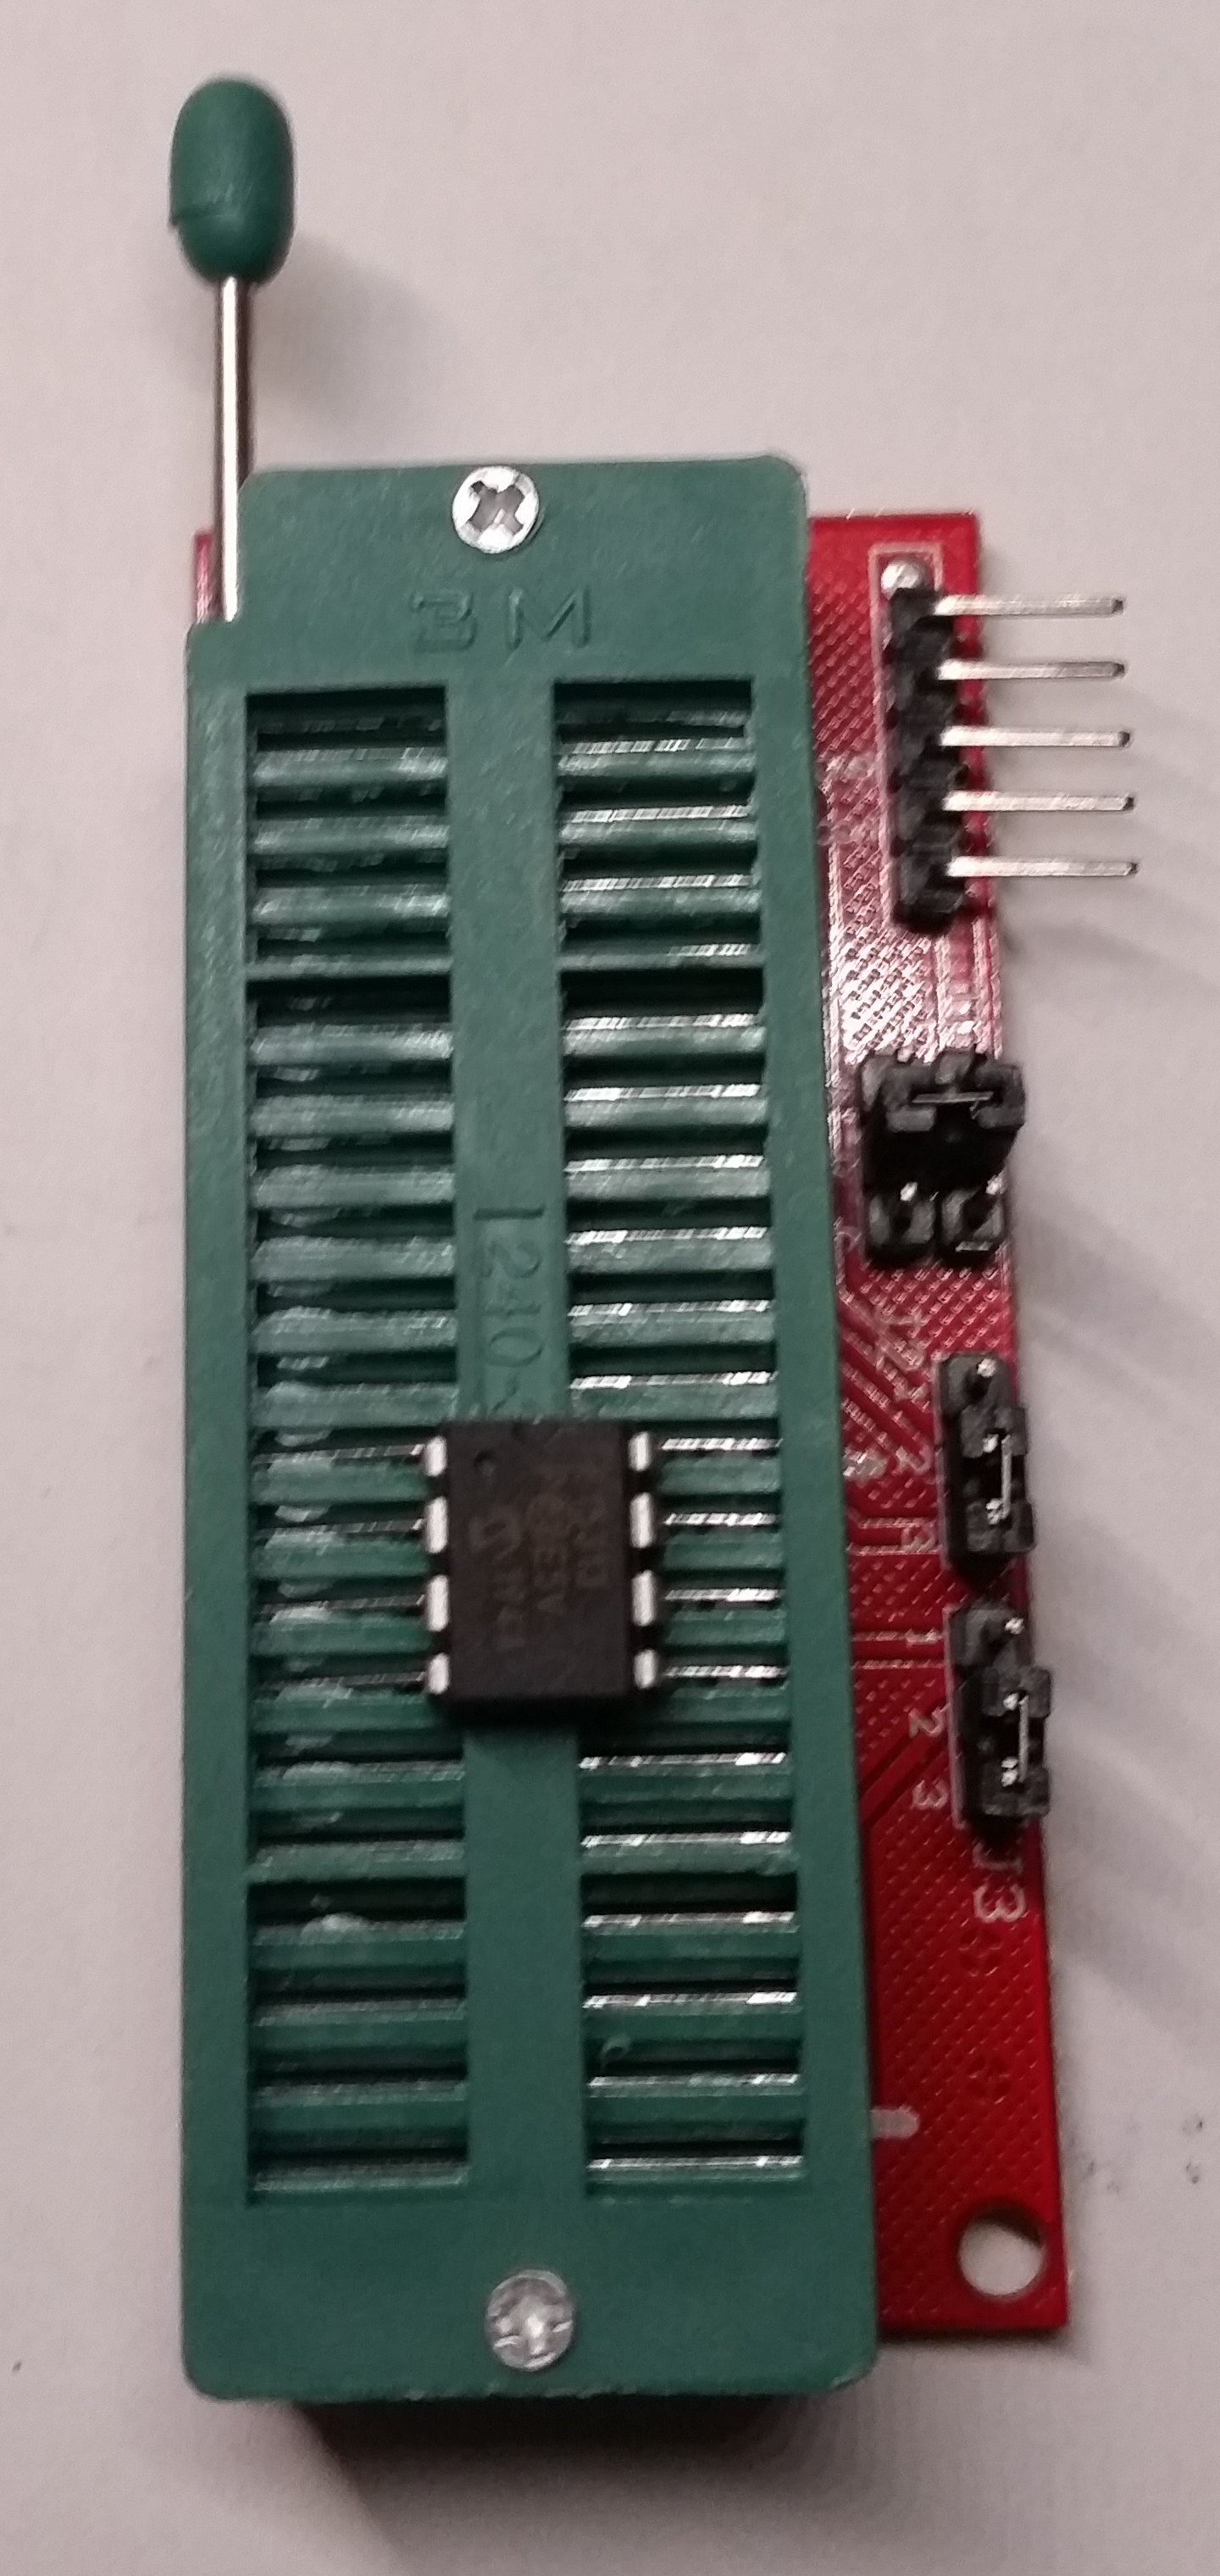
Then I got it flashing with the ZIF:

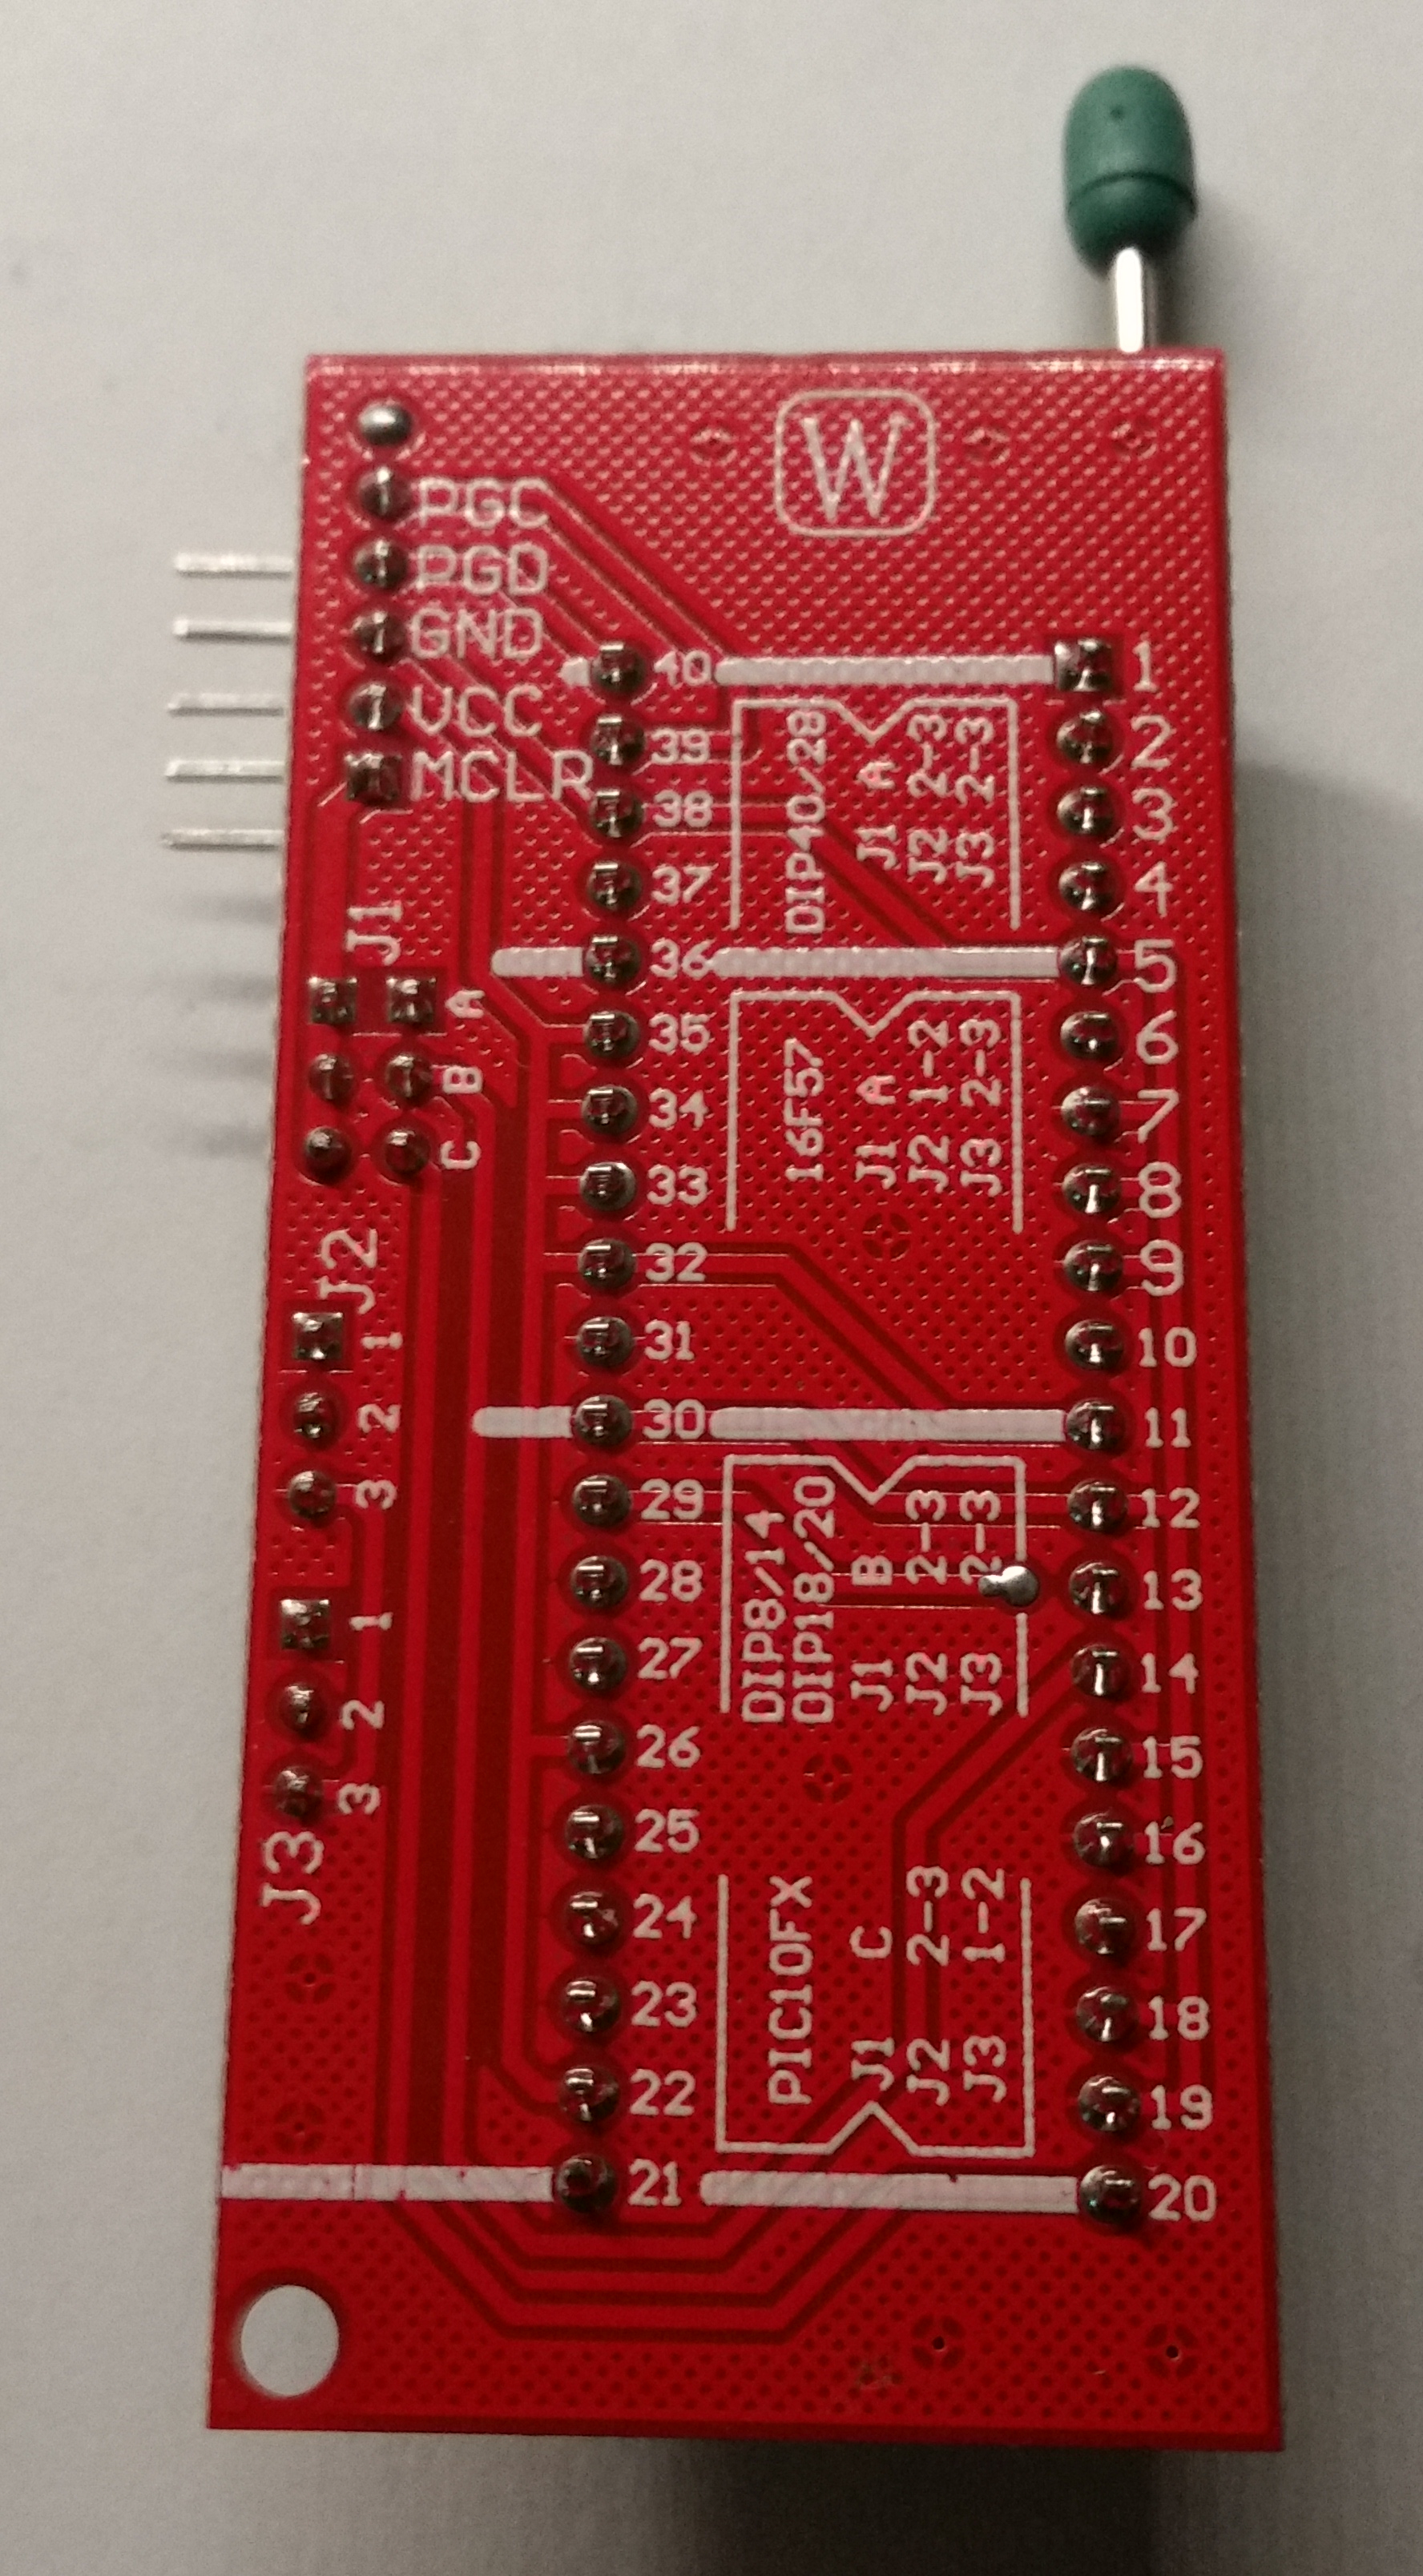
For reference, this ZIF socket has a few configurations detailed on the bottom. For this 8-pin (DIP8) PIC I used the configuration:
J1: B
J2: 2-3
J3: 2-3


Conclusion
Okay, now that we can actually program the board, let’s get into.. well.. programming the board! The next post will cover some basic knowledge for programming the PIC in C from the MPLabX IDE.